Configuring the Extractions
After configuring the source and destination connections, you need to import the Sage 300 People zip templates to create extractions. You then need to validate and build the extractions. This will create the tables and validate all SQL queries or calculated fields. Lastly, you need to run the extractions to populate the database tables.
Configuring the synchronization extraction
-
In DataSync, import the extraction (see Importing an Extraction for further details):
-
Click the Import
 icon located on the upper right-hand corner.
-
In the Import Extraction window, click the Choose a zip file hyperlink and browse to the location where you saved the DS_202X.0.X.XXX_Sage 300 People SYNC file or drag it directly into that window. Click Next.
-
The default extraction type is already selected. Click Next.

-
In the Description field, enter a meaningfull name, such as Synchronization.
-
Select the synchronization source connection and the Data Warehouse destination connection.
-
Enter the company code in the Unique Identifier field.
-
Enter CPYID in the Column Name field.
-
Click Add in the Destination Schema drop-down list to add the schema; for example, S300People.
-
Click Import.
-
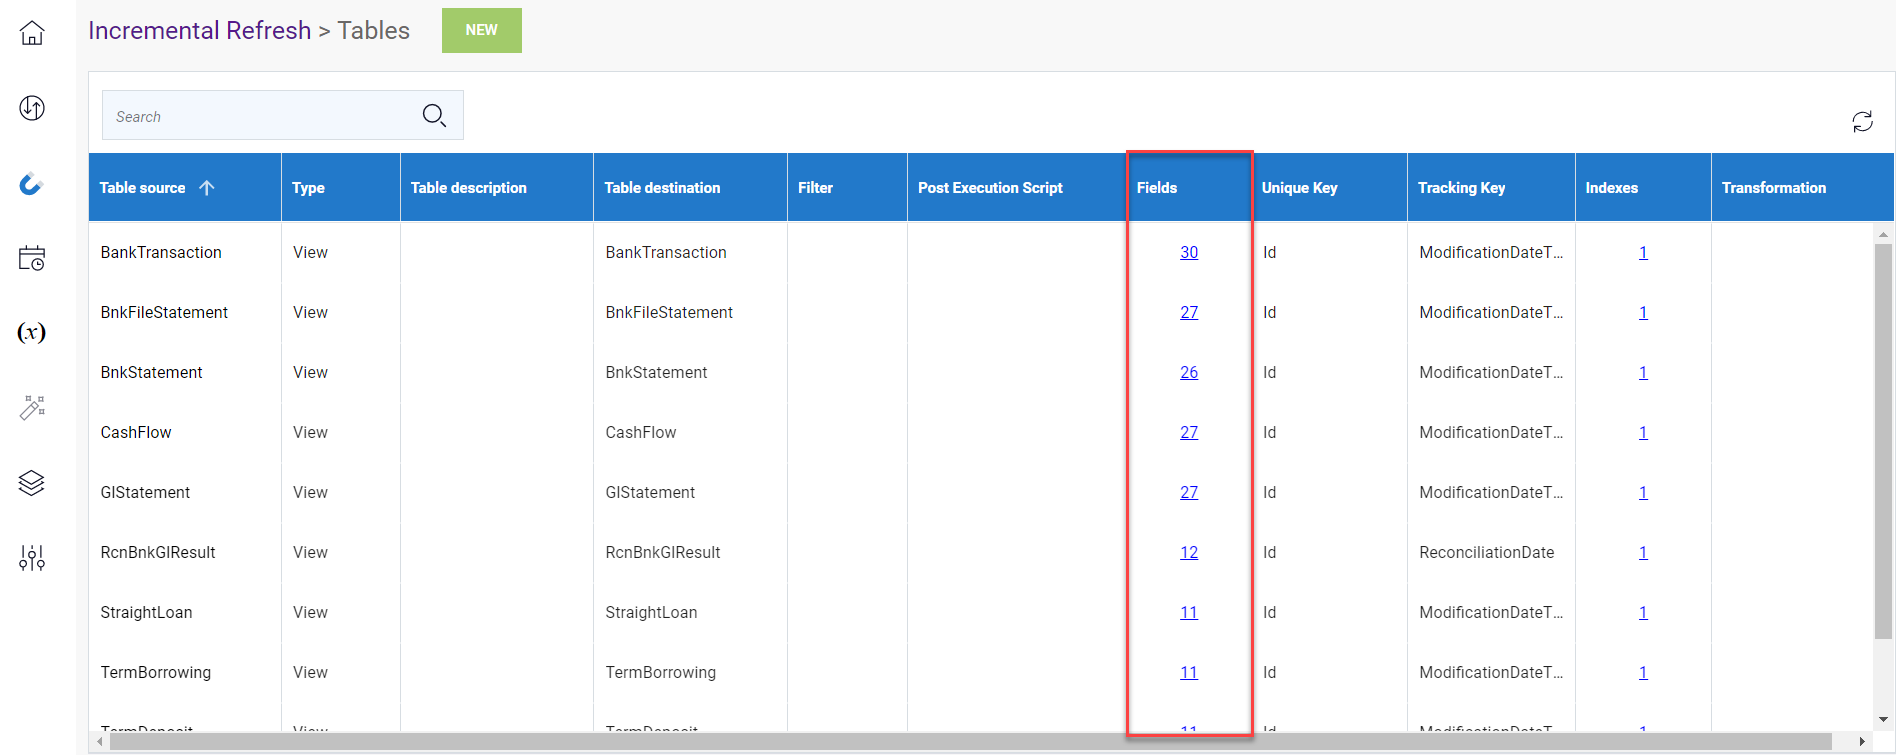
The Extractions window will automatically switch to the Tables window. Verify your tables and make sure that all fields are present. If some fields are missing, redo the import process.
-
-
Validate and build the synchronization extraction:
-
Click Extractions on the left to return to the Extractions page.
-
Select the extraction in the list and click the Validate and Build
 icon.
icon.
-
In the Validate and Build dialog box, select the Drop the previously created object and recreate the objects... option and click Build.

- Wait for the process to be done. A validation report is displayed to give you a quick overview once the process is finished. The results are displayed in the Status column. If there is an error, click the hyperlink in the Error column to view the Log Page.
-
-
Run the synchronization extraction:
-
Select the extraction in the list and click the Run Extraction Now
 icon.
icon.
-
Select the tables to be populated.
-
In the upper-right hand corner, select Truncate and Load and click Run. This will replace all data in your destination with the current data from your source.
-
Wait for the process to be done. When the process is finished, the results are displayed in the Status column. If there is an error, you can view more details on it by clicking on the hyperlink in the Error column, which leads to the Log Page.
-